I get a lot of emails asking how to rig the straps and I always have to find the page where I posted this pictures. Therefore, I decided to start a new thread were I can consolidate basic instructions about the strap routing.
I am still planning on using two color straps to take some more pictures. I hope that using two color straps it would be easier to see how the straps are routed.
I am also trying some neoprene sleeve padding on the shoulder straps. I will post pictures later, but I just set it up so I am not sure how well it will work.
______________________________________________________________
sitkadiver wrote:OK, this is probably a total nancy-boy question, but how do you vintage people get 2 layers of webbing through the slider? I can put them on a regular weight belt just fine, but I'm killing myself trying to get the second run to go through. I even cut a nice trianglur shape into my webbing and tried needle nose pliers.
You peope must work out way more often than I do......
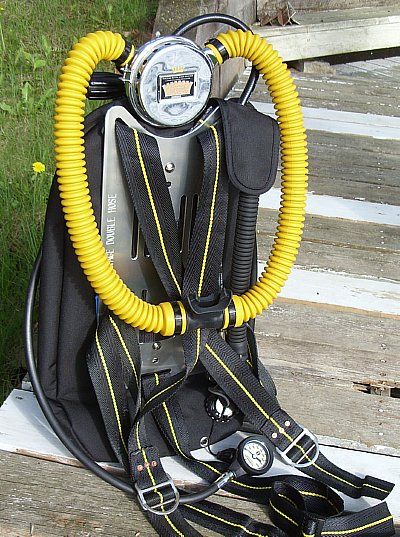
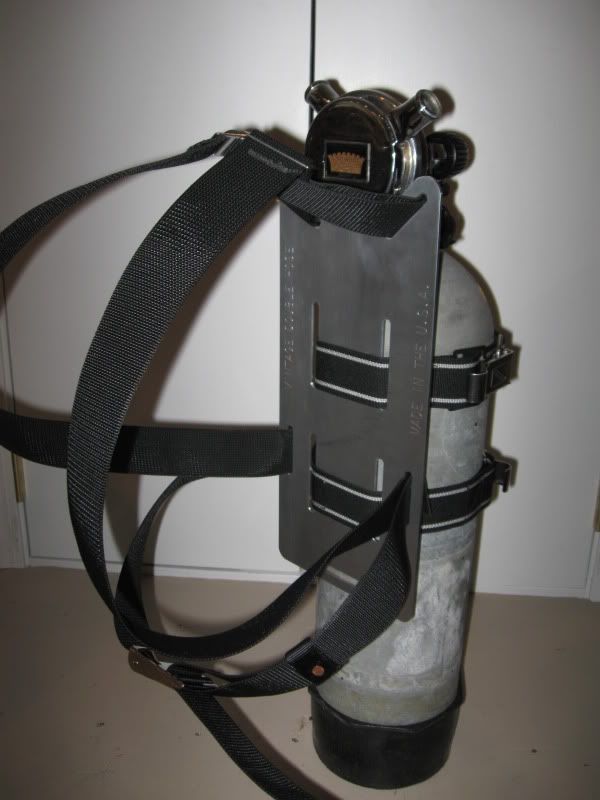
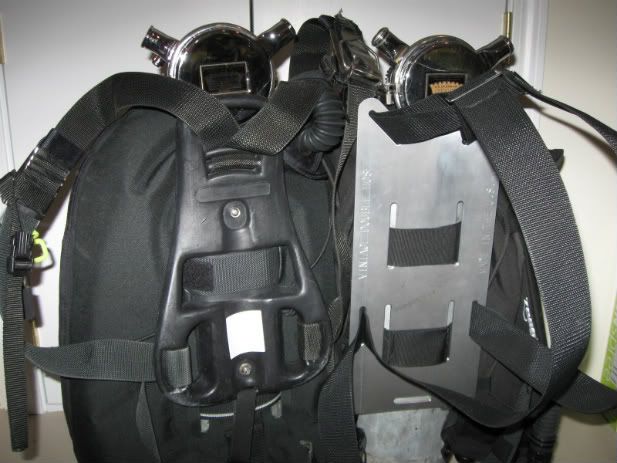
The sliders on the back of the plate (in four places) as shown in the top picture are the standard sliders that Bryan carries. The webbing goes through the sliders only once.
The webbing goes from the front through the slot, then through the sliders, and back to the front through the same slot.
Look at the slider near the regulator. It is pulled flat against the plate. It secures the webbing, but it is very easy to adjust. The ones on the shoulders do not need adjusting, but the ones on the waist are the ones I use to adjust the shoulder straps.
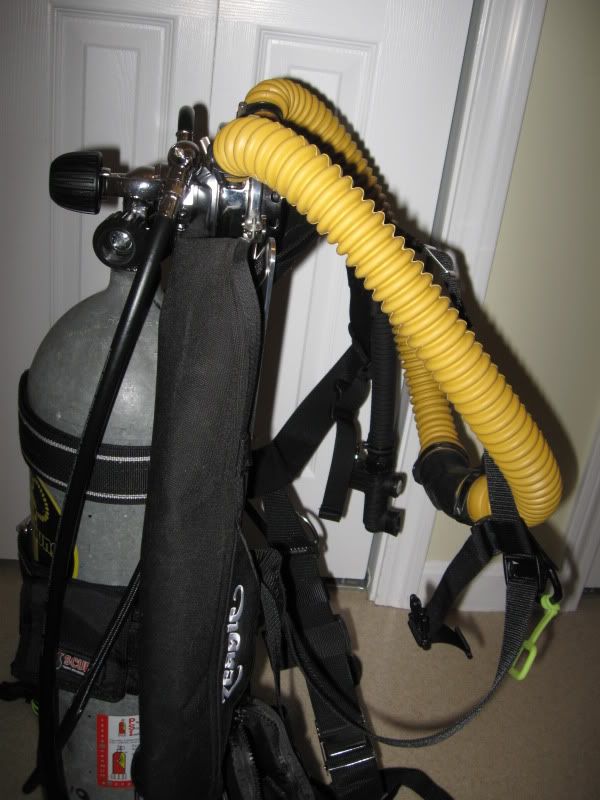
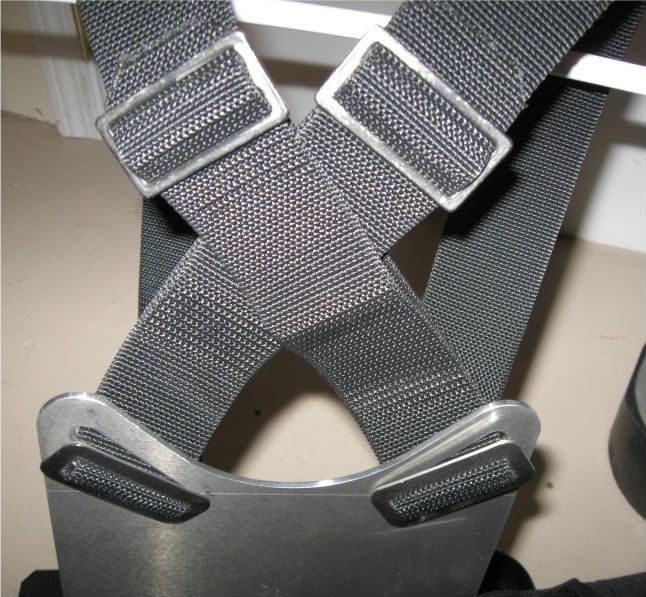
The sliders on the shoulders are bigger sliders specifically design for two sets of webbing. It is very easy to run two sets of webbing through these sliders. See the picture below.
You can get this sliders here:
http://vintagedoublehose.com/index.php? ... id=9015736

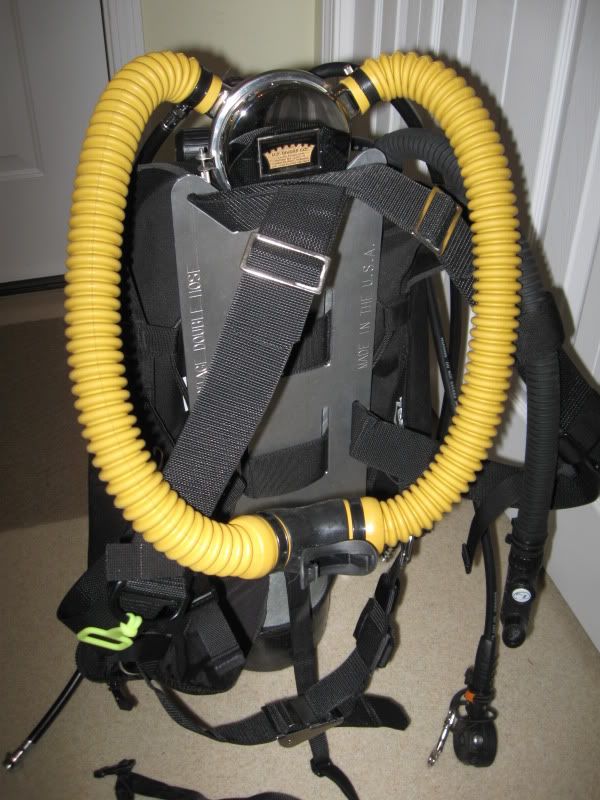
In this picture you can see how I crossed the shoulder straps. I intentionally alternated the straps where they cross so that they would capture each other. Take a look at the picture… I am having a hard time explaining it.
I only use sliders on the back of the plate to control the load on the webbing. The sliders on the top of the shoulders are only there to hold the two sets of webbing together (as shown on the second picture). This holds the webbing out perfectly so that all I have to do is slide my arms through it.
Keep in mind that I dive with a stiff dry-suit or a heavy 7mm wet suit a lot. I like to make it easy for me to put on my tank without any need for help from others. I felt that ease of donning was a fairly important design requirement.
___________________________________________________________
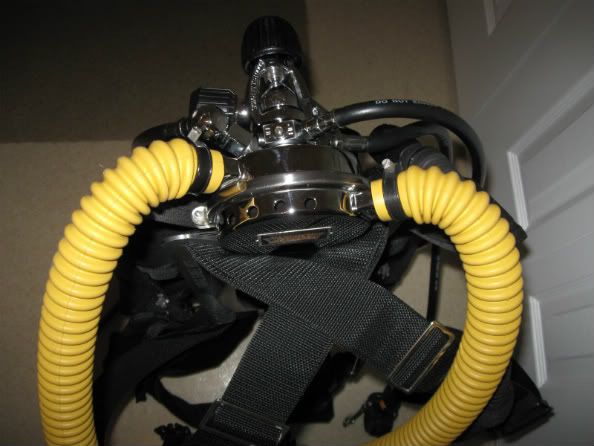
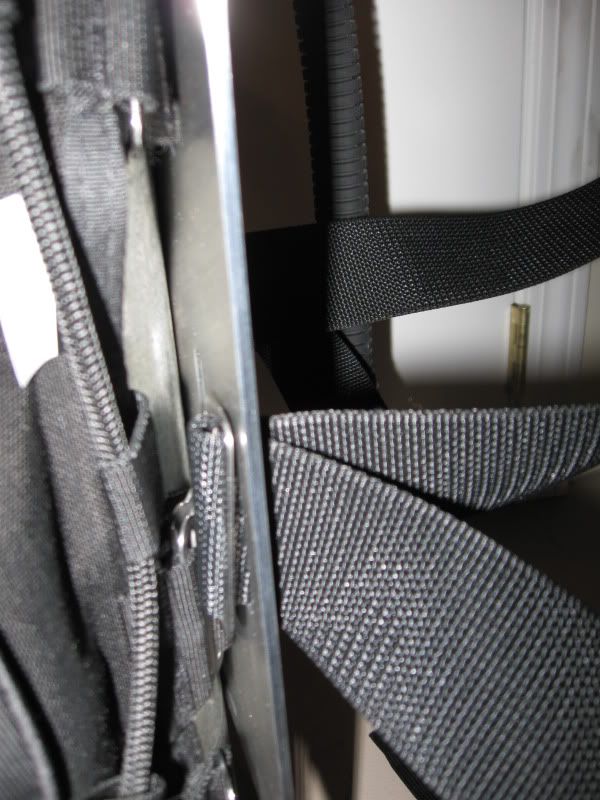
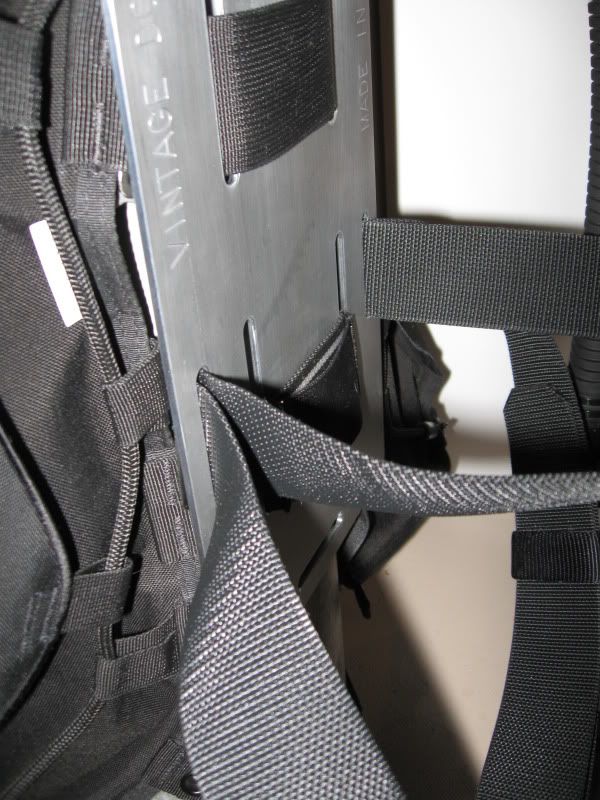
Here are some more pictures showing how I ran the webbing.
Notice that the large sliders on the front are not necessary. They are just there for the convenience of holding the straps crossed. I thought of a lot of other hardware, but another requirement was that no metal buckles would touch the regulator cans.
At one time I thought about just stitching the two straps together where they cross. That would work, but you have to get it right since it is not adjustable.

On the left is the modified pack that I used for years. It works with a double hose, but it is not ideal.
I hope this helps.